Overview
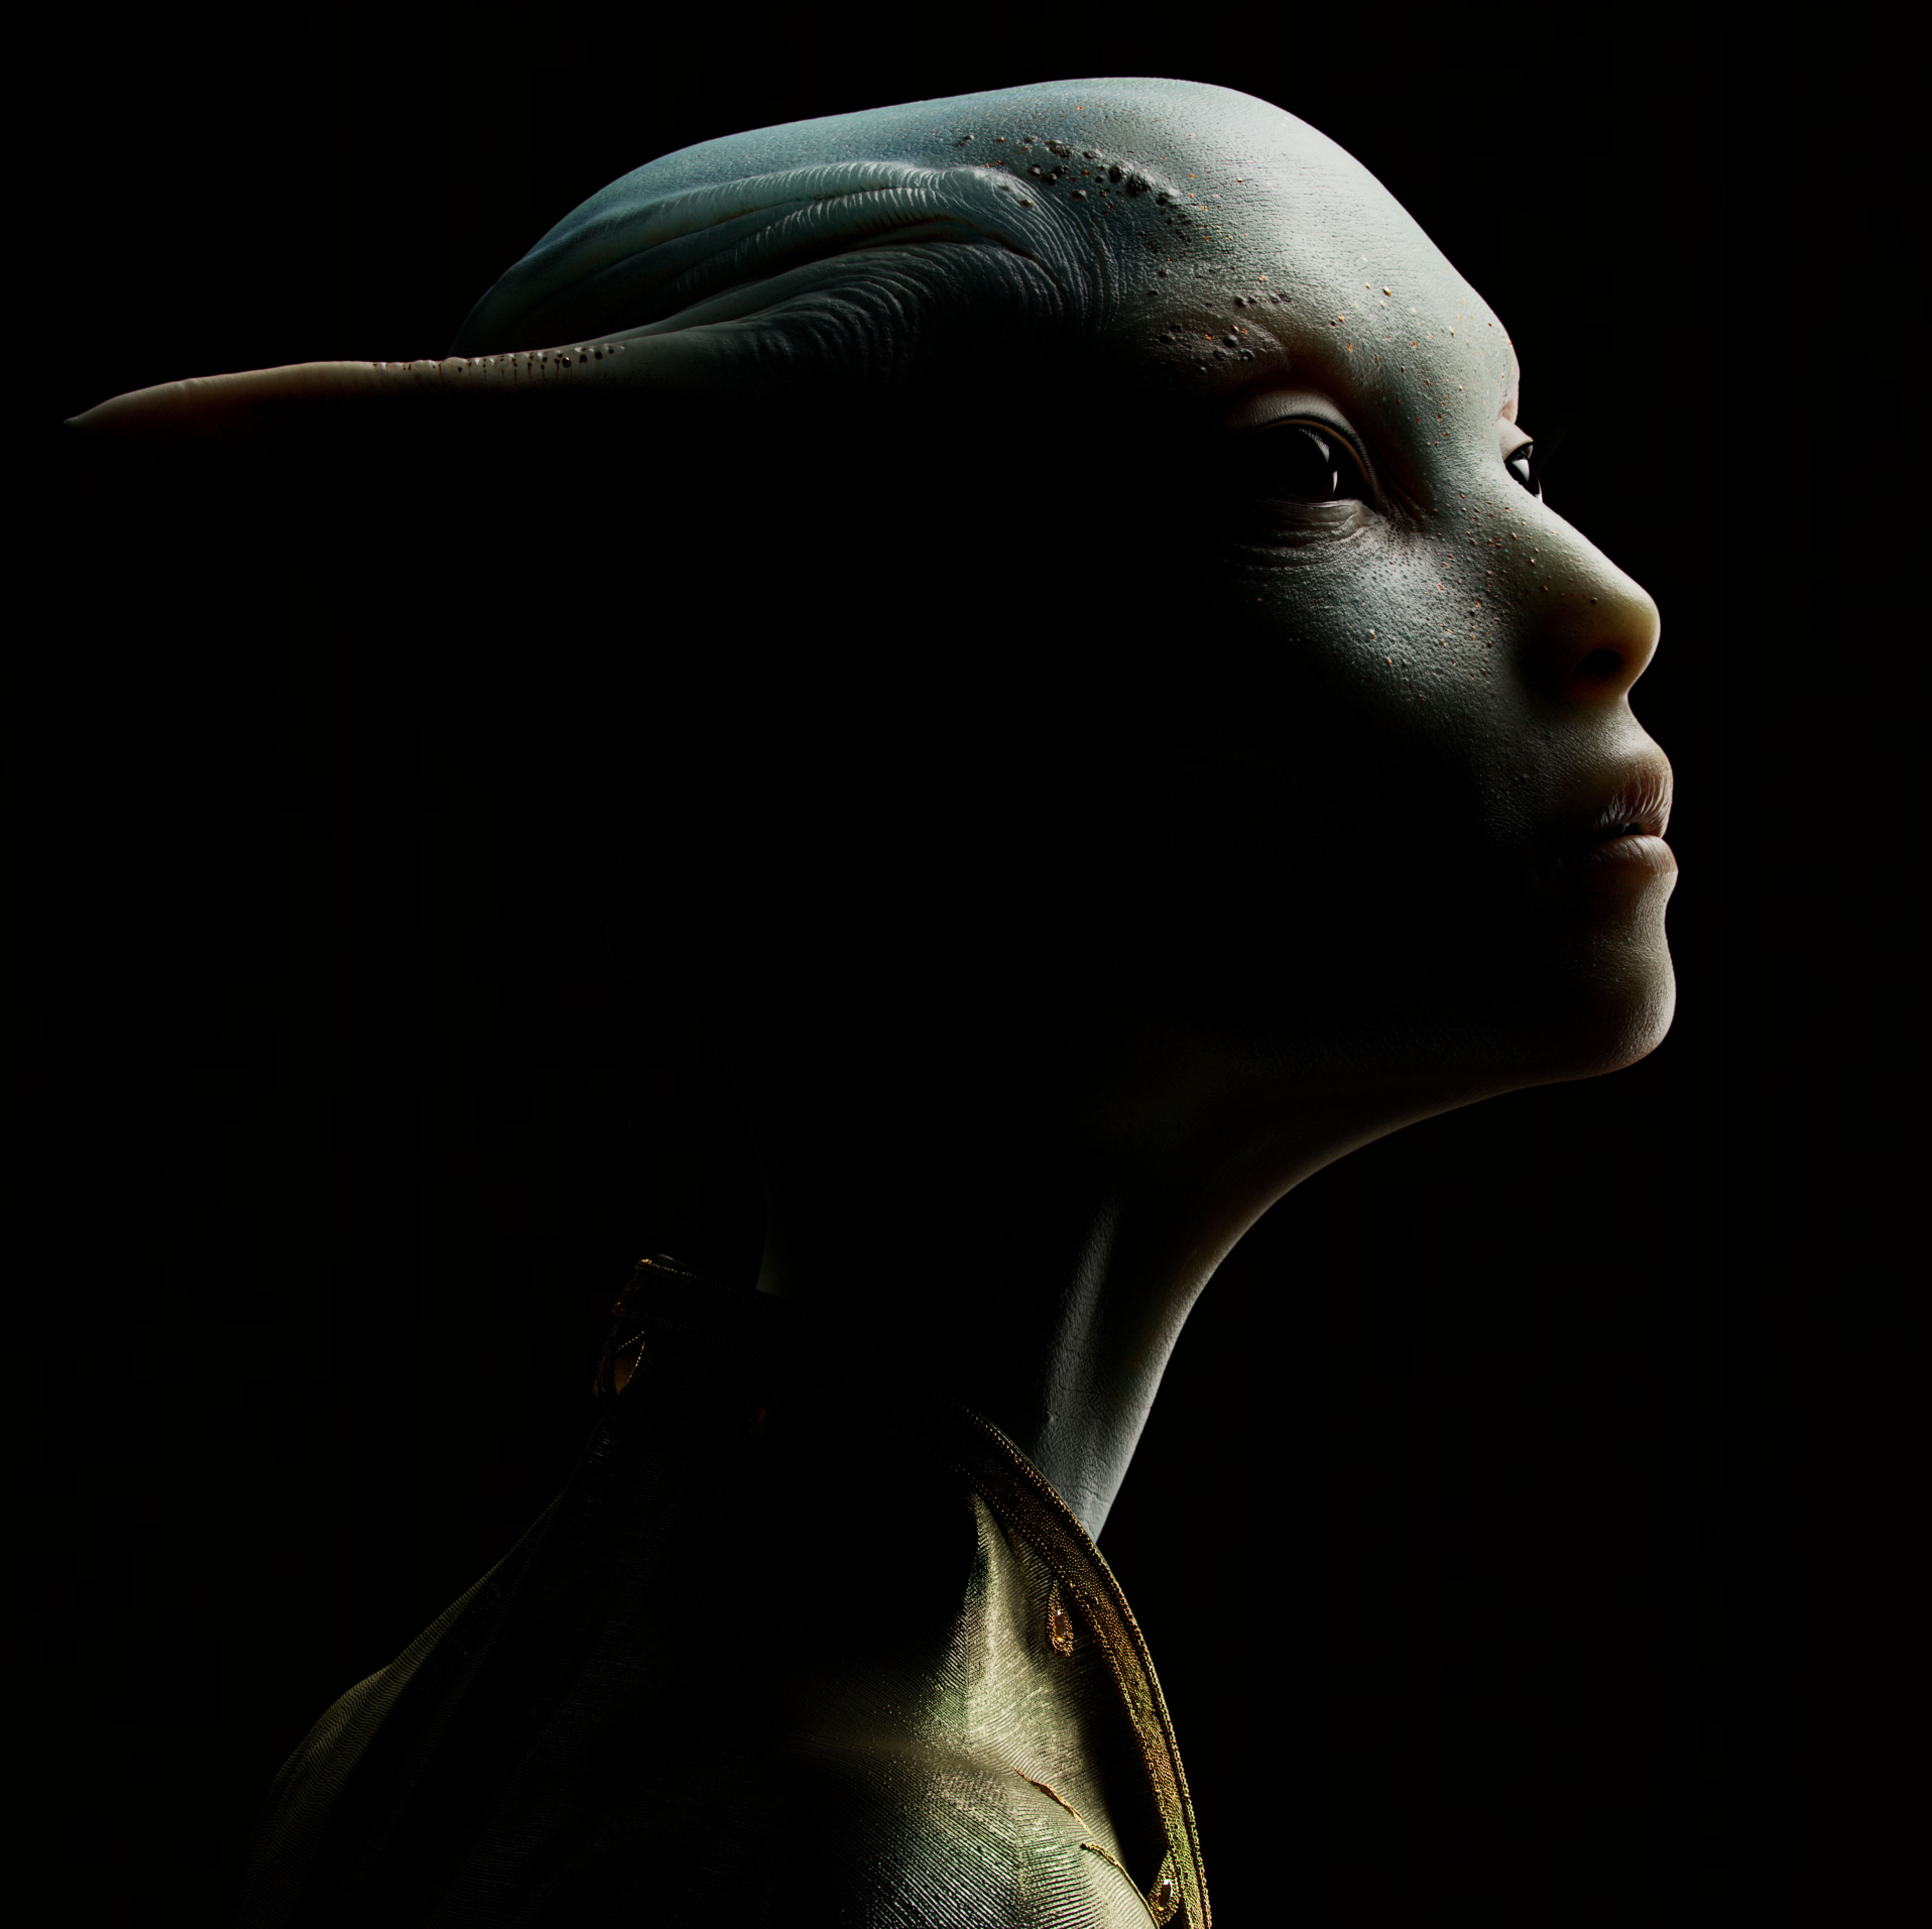
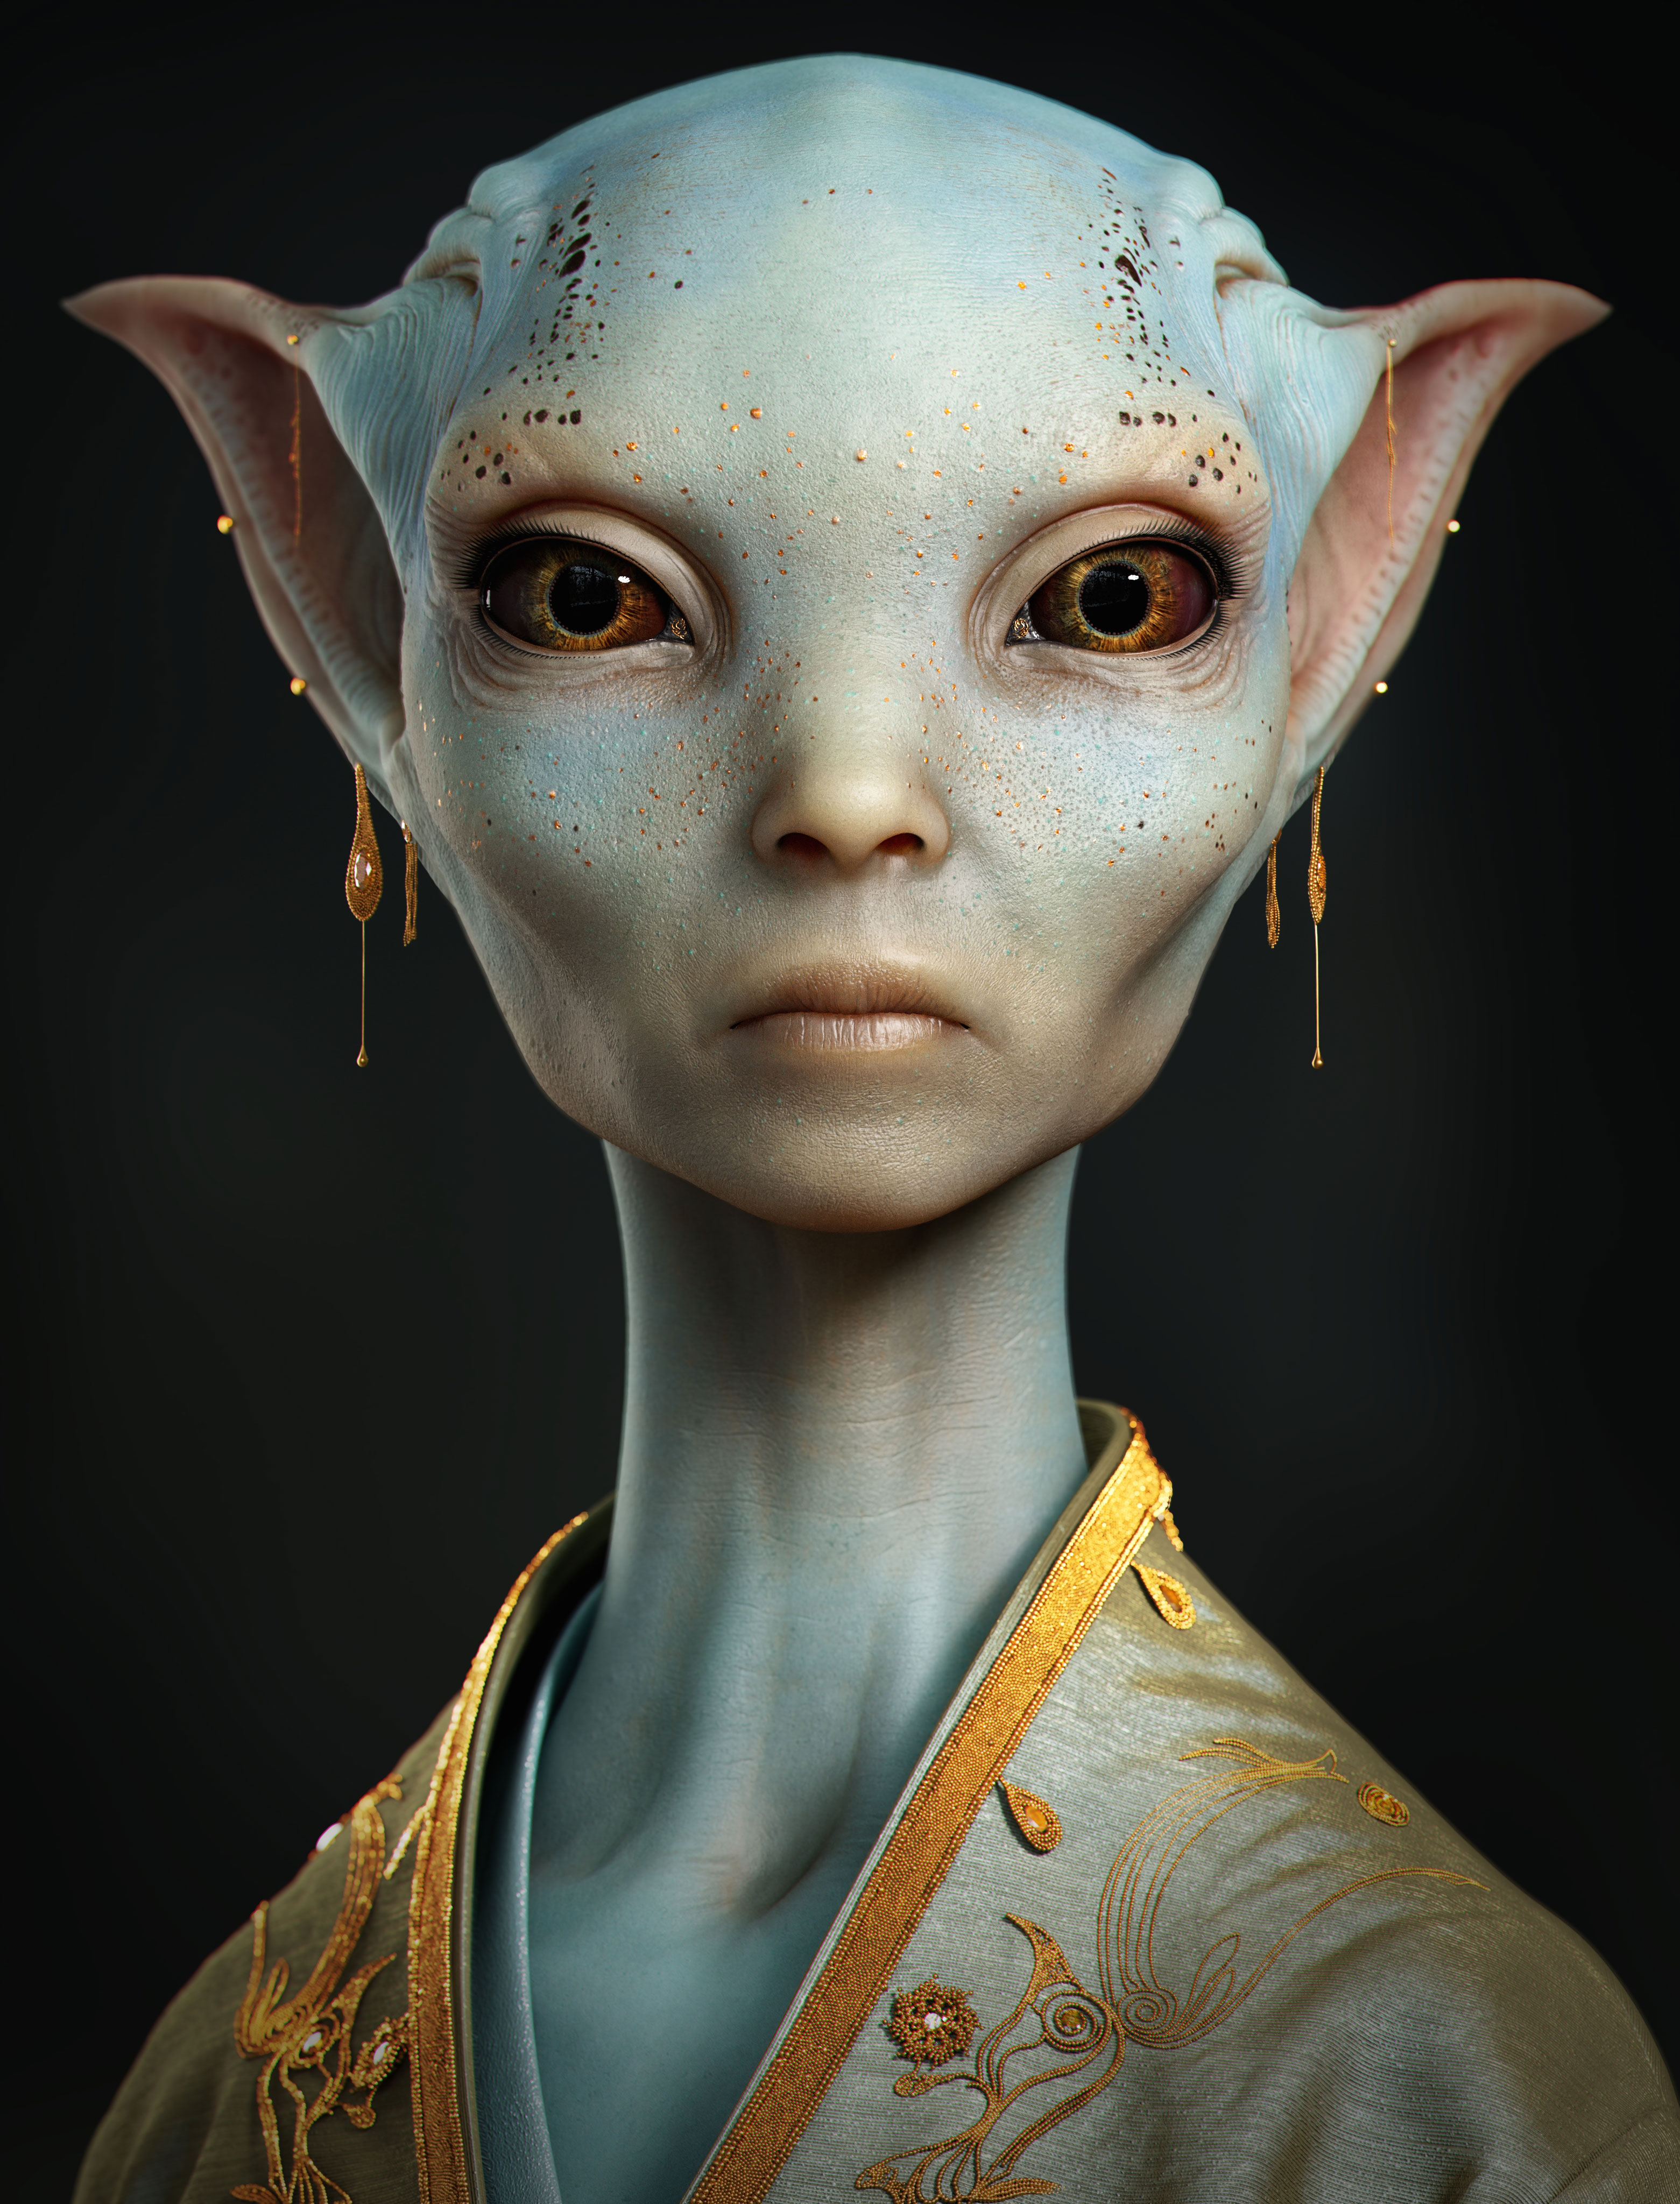
Elucidae is a personal project with the goal of designing a sophisticated character and exploring new artistic techniques and technology.


Design
The design process began with concept sculpting in zbrush aided by midjourney. The characteristics I wanted to emphasize were other-worldly beauty, intelligence, colorful skin, elongated proportions and an elaborate costume with fabric and hard surface elements.
As the design progressed I was able to determine details about her character and background. Elucidae is a messenger from a benevolent species who carries an ominous warning for humanity. Her slight frame and elongated bones indicate centuries spent in low gravity. Her eyes are expressive and hint at concern and wisdom and her bioluminescent skin aids in communication. Putting thought into details like this adds depth and realism to a character.
Model
After the head and body sculpt were blocked in using dynamesh in zbrush I began creating the organized topology and uv layout for the character.
The body was refined using an ecorche fit to the body shape in houdini using the point deform method. The body could then be wrapped to this mesh in zbrush to provide accurate anatomy and muscle detail.
Eyes
The eyes are the “window to the soul” and were especially important for this character. I wanted to improve on previous procedural eye models i’ve done in the past to have a more biologically accurate model than is typically used in vfx.
Studying reference is key to this and I used human and reptile eyes for inspiration. The eye model was created procedurally in houdini taking care to define the corneal bulge, iris, pupil and lens.
The eye texture was created procedurally in substance designer

Costume
Elucidae’s costume is a ceremonial robe with complex embroidery and this was one of the most challenging parts of the project. To create the base robe I used a similar process to Marvelous Designer in Houdini, starting with fabric panels that could be sewn together and simulated to drape over the body using Vellum.
The embroidery was a fun challenge and was achieved using curves and scattering shapes in houdini.
The gemstones were also created in houdini using diagrams of shapes such as oval and portugese.
Skin Detail
I wanted to emphasize the skin detail as much as possible in zbrush using HD geometry which allows for sculpting with a billion polygons or more. This is often a challenge in vfx production but with some tricks and careful planning it can achieve very nice results. One important benefit is the skin detail can be reviewed as a sculpt rather than as a texture map which makes it easier to see the actual surface.
Skin Zones
Skin detail has very different characteristics depending on where it’s located on the face. Some areas have large open pores, while others are finer and less visible. Other areas have pores with a positive bump rather than negative and others have more stretching and crease lines. Skin also varies greatly based on gender, age and life experience.
Skin Macro Photography
Reference for skin is very important to achieve realism. An excellent resource for this is from Daniel Boschung’s Face Cartography page where you can zoom in to an extreme closeup view.
Here are some additional photos used. Ideally skin reference should be sharp and the subject should not be wearing makeup.


Texture
Color
The texture process started with blocking in areas of very soft warm and cool color. This variation creates a more natural look than having more monotone skin. The goal for this stage is to establish the overall color as a base to add detail after.
Textures were painted using ACEScg colorspace.


Rigging
I wanted to explore a solution that would allow me to quickly rig a character to produce poses and animation. This adds realism to the presentation and also lets us test the creature anatomy to make sure it’s functional. In studios this can be a very difficult and time consuming process involving many departments.
Body
After researching various auto rigs I decided to try AccuRig. This is free and allows an artist to create a custom skeleton that works with HumanIK in maya
face
AccuRig doesn’t include a face rig so for that I turned to Metahuman by Epic Games. This is another free resource which generates a face control rig with blendshapes that are activated upon moving the controls. This needs to be “hacked” in order to use with non-metahuman topology and especially for characters with non-human features such as Elucidae’s ears.

The overall result was very successful and allowed me to create a working rig in a couple days. I’m able to use this to achieve subtle expressions and movement which really bring her to life.
Animation
The goal of creating animation is to highlight the character’s personality and prominent features. Here’s a head turn which focused on Elucidae’s regal appearance, beautiful eyes and costume details.
CFX
CFX (creature fx, sometimes known as techanim) is needed to bring the animation to a final state. This involves wrapping the final render face and costume to the rigged mesh, simulating the clothing and jewelry, and attaching extra geo.
Lighting
For lighting I wanted to go beyond the typical HDRI setups usually used in build departments and explore studio portrait photography. Lighting the face can be very technical and there’s a whole body of terminology which is useful to understand different strategies.
Studio Portrait Lighting Types

One of the most famous ways to light the face is Rembrandt Lighting, named after the painter. This creates a dramatic effect with a triangle of light under one eye.

Loop Lighting is similar to Rembrandt but leaves a strip of light to the side of the nose. This illuminates more of the face and can be very flattering.

Split Lighting is another style where the face is lit from the side. This gives a very dramatic, artistic look.

Butterfly Lighting illuminates the face from slightly above creating a butterfly shaped shadow under the nose

Flat Lighting is where the face is lit from the front. This can be used to hide imperfections in the face.

Back Lighting highlights the silhouette of the subject

Broad Lighting illuminates the side of the face closest to camera. This is used when the subject is turned.

Short Lighting illuminates the far or “short” side of the face when the subject is turned from camera.
Both short and broad lighting describe the orientation of the subject relative to the camera. Any style of lighting could be broad or short, for instance both this and the previous image could be considered broad and short rembrandt lighting.
Rendering
Final Thoughts and AI
As artists we’ve all witnessed the rapid rise of AI. In just a few short years the technology has gone from producing comically bad results to very high quality and sometimes astounding images. This is in large part due to training data acquired from VFX and concept artists who spent their entire careers honing artistic and technical abilities. This has been met with wildly varied reactions ranging from fear and anger to excitement and optimism.
One hope for the future of AI is that it can be a tool for artists to create more and better artwork, and this was the approach I used. I believe it was successful because AI helped tremendously with the initial concept but I was able to create a final result which was much better than AI can create on it’s own. We can only watch and see if this continues to be true in the future.


